top of page
Writer: christiane gchristiane g

Updated: Aug 10, 2023

Discuss,Compare and Finalise


Dingile's Design


My Design

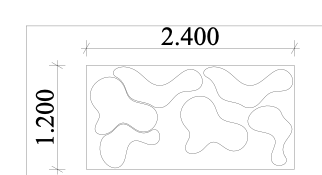
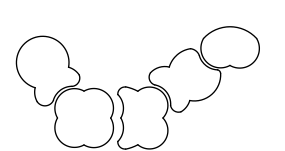
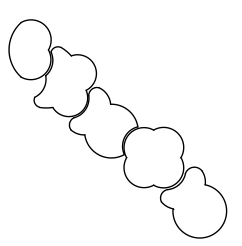
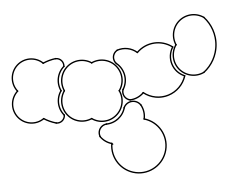
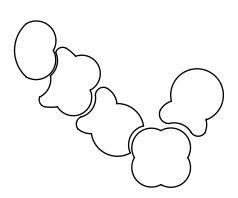
I designed the chairs for our project in way that the audience can put them in multiple places and the chairs still connect. I wanted to create a puzzle feature out of it whilst still being inspired back to our primary research of the fluid lines. It will be different heights and the widths are definitely very different depending on the piece. We hope to get this CNC cut as it is 18mm thick OBS board, arriving on the 16/11/22.

Different Iterations


Writer: christiane gchristiane g

Updated: Aug 10, 2023

Developing Chair Idea


Sarah and I sketched together to come up with a developed chair idea taking on Lucy’s feedback.

We decided that even though having the head piece built/attached to the seating would have been great it does raise an awareness that it could be more hustle and due to time we both agreed that the head piece would remain attached to the scaffolding instead.

We were on board with this ‘puzzle’ like feature where the people can move them about and create multiple forms from. That will be inspiring the final idea.


We visited the ceramic workshop to discuss options on how to construct shapes like this in the easiest and cost-efficient way. We spoke to Sean the guide and he explained that if we wanted to use clay and and mold it, it would cost a lot of money and the process will take a while as you would have to create the mold of the shapes using timber then purchasing the clay and then waiting for the clay to dry etc. So, this clay option was out of question.

We then went to the Wood workshop where we spoke to Ben again regarding the construction of these shapes. He suggested 3 options – Option 1: Cutting out the curve sections multiple times and then layering it on top of each other to get to the height we want. We would then have to wait until the layer are fully dry to progress to anything else.(Time consuming) Option 2: Cutting out the base and the top on the CNC machine then using timber slats to create the sides around. (Too time consuming) Option 3: Cut the base and top on the CNC machine then adding timber supports around the shapes to withstand weight after that using a 2mm MDF allows for flexibility to curve and bend in the forms we want. (cost efficient and good time management) Originally, we were looking into Flexi-board but it was to expensive and not within our budget range.


Writer: christiane gchristiane g

Updated: Aug 10, 2023

Head Piece CNC and Construction


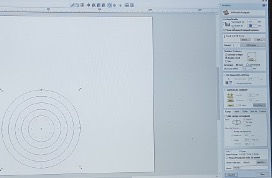
Our first step was to upload the CAD file onto the software called Vcarve where Ben our Wood workshop guide was able to make sure the settings to cut on the CNC were good to go. He also made sure that the circular plan was placed in a position that was correct on the page.


After the Vcarve file was ready to go, it was sent to the CNC machine to get load and get ready, at this stage Ben had to adjust a few options on the remote and change the drill size using a wrench in order to cut through.


At this point all we could do is wait for 10-15 mins until the cutting was done. Hoovering was also required to make sure the dust was not overwhelming.


bottom of page